Happy New Year and welcome to this crazy quilt along! I can’t wait to share some of my piecing and quilting tips with you all once a month. Some of you may already know these things and others will be hearing them for the first time. Either way, I hope to inspire you all, and share my love for quilting with you.
Grab the quilt along button on the right, too! Visit the Tips & Tricks Quilt Along page for missed posts during the year. All the links will be there.
All of the blocks will be completed with fabrics from my stash – so this will be a scrappy 12 blocks sampler when we’re all done. Honestly, I have no planned fabric, what you see each month is what you get. Think more about light, medium and dark values, and the scale of the print. Exact matching? That’s important to some quilters, but not the main thing here. I use the same color family, but not necessarily the same exact fabric, to unify my block and bring out the pattern. You can match fabrics exactly if you’d like.
Our first block is the Amish Diamond. This is great pattern to reinforce some ideas and introduce new ones. Please read thru the directions to the end first, and then start your block. Always good to get a feel for things before being any project.
Find the pattern at: http://quilterscache.com/A/AmishDiamondBlock.html. Now, since I am doing a scrappy block, I am using this pattern only as a guide for sizes.
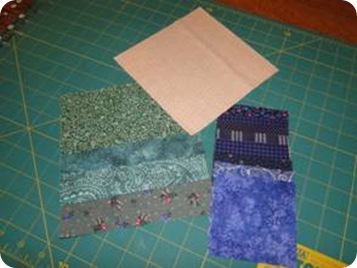
Select your fabrics – this is what what I used:
Light scrap – cut one 6-1/2” square
Medium scraps – cut 4 each 3-1/2” x 6-1/2” rectangles
Dark scraps – cut 8 each 3-1/2” squares.
I know, I have a couple of blues that read medium instead of dark – I’ve decided to take a risk and see if they work. Bear with me {grin}.
The center unit is called a “square in a square”. Traditionally it is pieced using one square and 4 triangles. The triangles tend to stretch out of shape using this method as they have a bias edge. TIP #1: We’ll be making this unit using the “stitch & flip” method. Note: some quilters use a thinner weight thread for this method. Use whatever thread you like.
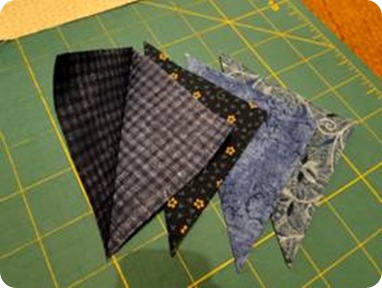
First, press 4 of your dark triangles in half from point to point to form triangles. Open back up. You’ll use the fold line as a sewing guide.
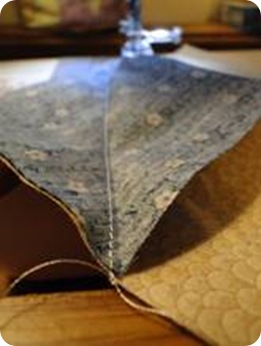
Next, position a creased square at one corner of the light 6-1/2” square. The crease line should run from top left to bottom right.
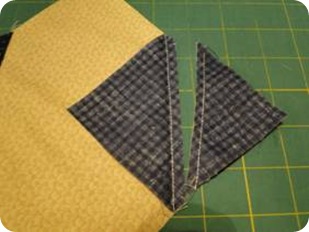
Sew on that line just a threads width to the OUTSIDE of the crease (TIP #2). Do this for 2 opposite corners.
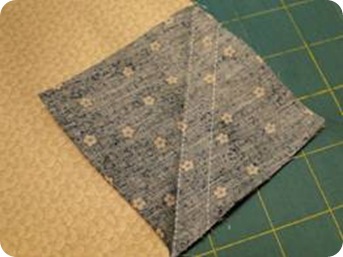
TIP #3: Now, before you leave your machine, go back and sew again. This time we’re going to use up some fabric that usually gets discarded. Stitch again, this time stitch 5/8” away from your 1st sewing line – toward the outside.
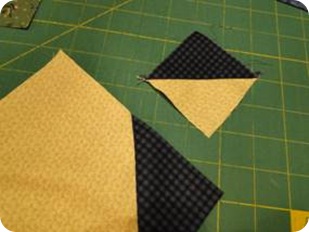
Go to your cutting mat and trim away the backs of the sewn folded triangles ¼” from the first sewing line. Do you see what else we have? We made an extra half square triangle! I plan to use these in the finished quilt top. These should measure 2-1/2” when squared up.
Repeat for the 2 remaining triangles/corners.
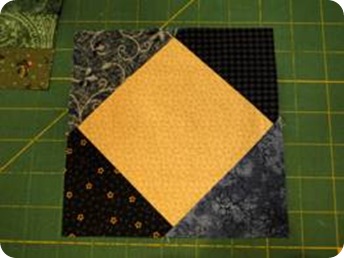
Now carefully press open your unit and square to 6-1/2”. TIP #4: Did you see how I placed my blue corners? The lighter ones are opposite the darker ones for balance.
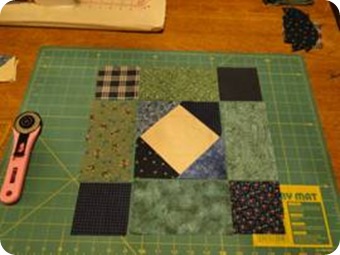
The rest is simple piecing. Layout your block.
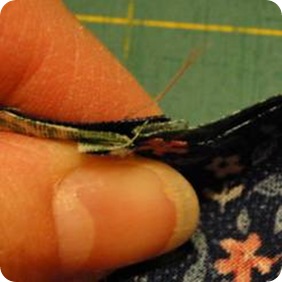
Piece together into rows. TIP #5: When sewing seams with points, stitch just a threads width above the “X” where the seams overlap. This should give just enough room for the point to lie nicely no matter what thread weight you use. Sorry, didn’t get a great photo of this…
TIP #6: Press the seams on each row opposite each other so they nest together when piecing the rows.
TIP #7: When pressing seams with a point, press AWAY from the point. That helps me keep my points nice a sharp. Small disclaimer: Have to say tho’ since we all sew differently and use different thread widths, try it and see if it works for you.
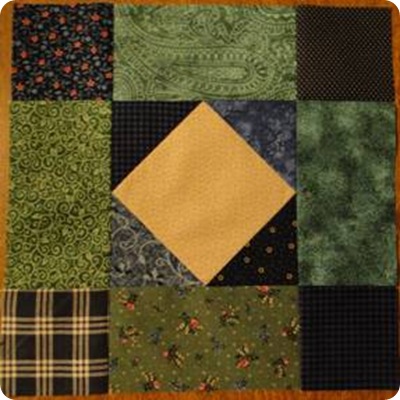
Here is my finished block – squared up to 12-1/2” unfinished.
Pretty good start to our year! Please post your blocks in the flickr group photo album and show off your blocks!
‘til next month,
©2011, Carrie Graziano, crickets



1 comment:
I just joined your flickr group and then headed over to the blog links from the online magazine tour. i think you won! Congrats :) visit
http://lisasfibercreations.blogspot.com/ to see if it's you - she wants your info....
Post a Comment